
Complete Step-by-Step Wallpaper Removal Guide: Remove Any Wallpaper Like a Pro
August 22, 2025
August 22, 2025
Let’s face it – staring at that outdated wallpaper is driving you bonkers. Whether it’s the floral nightmare from the 80s or that “trendy” geometric pattern that’s definitely not trendy anymore, it’s time to show that paper who’s boss.
Here’s the kicker: Professional wallpaper removal can cost you $200-800 per room. But rolling up your sleeves and doing it yourself? You’re looking at $50-100 in supplies max. That’s money in your pocket and bragging rights at the next neighbourhood barbecue.
This guide will walk you through everything – from identifying what type of wallpaper is mocking you from your walls to getting every last bit of stubborn adhesive off. No fluff, no generic advice that doesn’t work. Just real-world techniques that actually get the job done.
Before You Start: Essential Wallpaper Removal Preparation
How to Identify Your Wallpaper Type
Not all wallpaper is created equal, and your removal strategy depends entirely on what you’re dealing with. Here’s how to figure out what’s stuck to your walls:
The Quick Identification Test:
- Pick a corner (preferably near a window or door trim)
- Use your fingernail to lift a small section
- Pull gently and see what happens
Vinyl wallpaper is your best friend – it often peels off like a bad sunburn. Traditional paper is trickier but manageable. Fabric-backed means you’re in for some elbow grease. Paintable wallpaper? That’s when you start questioning your life choices.
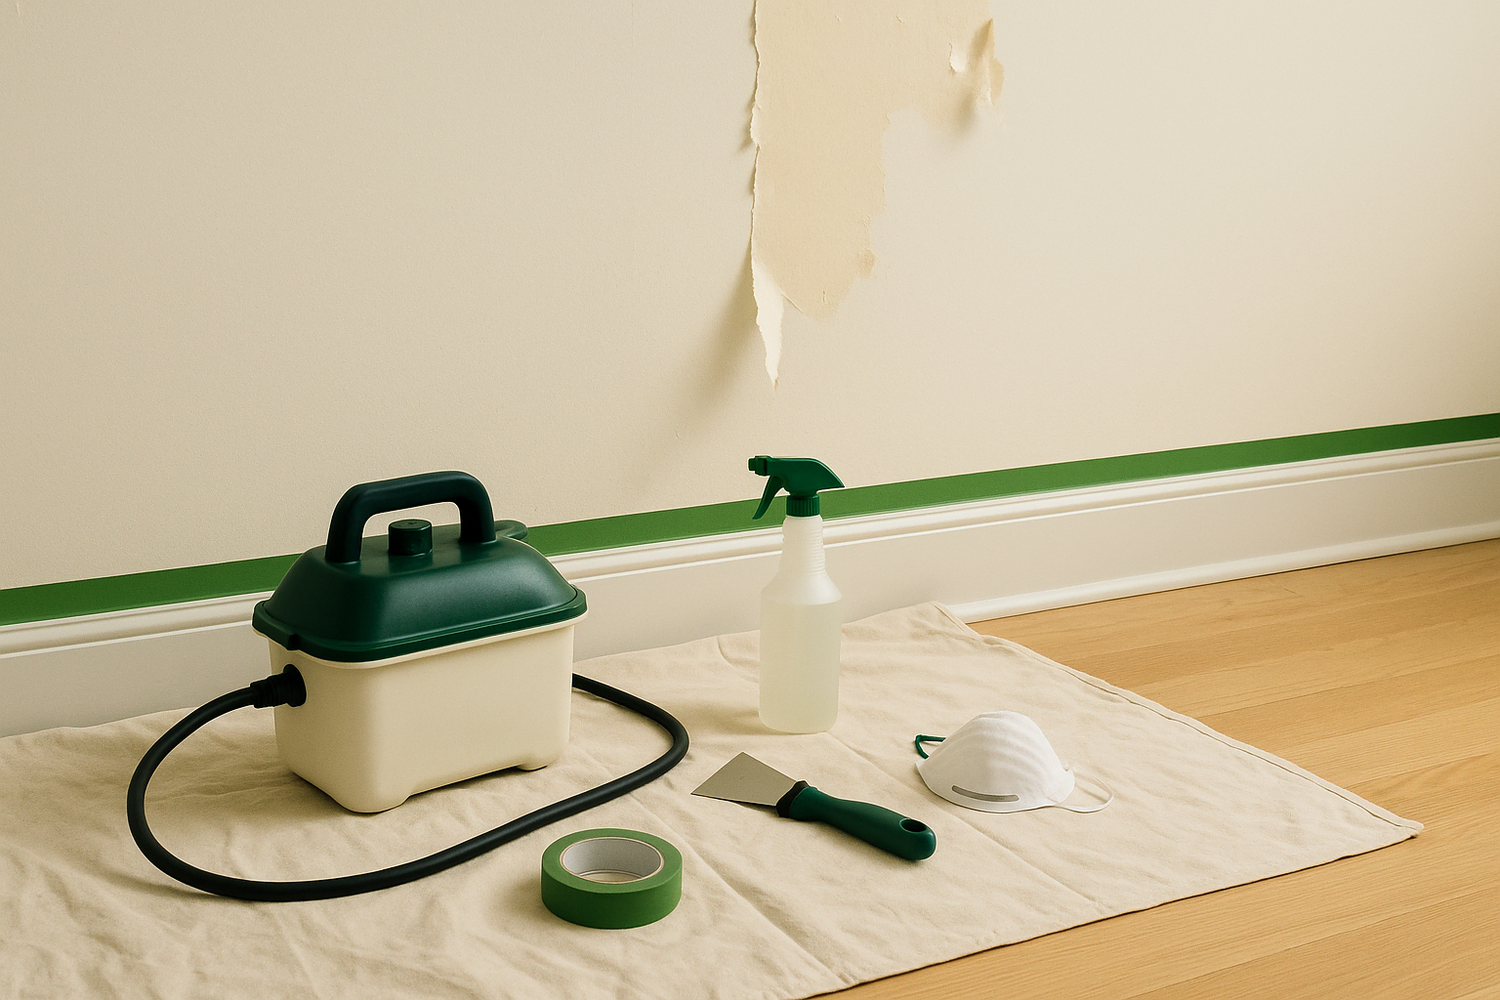
Essential Tools and Materials Checklist
Don’t be that person who starts a project only to realize you’re missing the one tool that makes everything easier. Here’s your shopping list:
The Non-Negotiables:
- Scoring tool (wallpaper scorer or utility knife)
- Wide putty knife (4-6 inches)
- Plastic scraper (won’t gouge your walls)
- Spray bottles (at least 2)
- Drop cloths (canvas, not plastic – trust me on this)
The Game-Changers:
- Liquid fabric softener (the secret weapon most pros won’t tell you about)
- Commercial wallpaper remover (Zinsser DIF is solid)
- Steam iron or wallpaper steamer rental
- Rubber gloves (your hands will thank you)
The Nice-to-Haves:
- Heat gun (for stubborn adhesive)
- Sponges and rags (lots of them)
- Plastic sheeting (protect your floors)
- Small ladder or step stool
Cost Breakdown:
- Basic tools: $25-40
- Chemical solutions: $15-25
- Protective gear: $10-15
- Total investment: $50-80
Compare that to paying a pro $300+ and you’re laughing all the way to the bank.
Room Preparation and Safety Setup
Furniture and Protection:
- Move everything out (seriously, everything)
- Cover floors with canvas drop cloths
- Remove outlet covers and switch plates
- Cover electrical boxes with masking tape
Safety First (Because Hospital Bills Suck):
- Turn off electricity to the room at the breaker
- Open windows for ventilation
- Wear safety glasses (wallpaper bits love to fly around)
- Keep kids and pets out until you’re done